When installing Structural Insulated Panels (SIPs), the application of glue is a critical step for ensuring structural integrity and energy efficiency. Proper adhesive application creates strong connections between panels, contributing to the overall performance and longevity of SIP-constructed buildings.
Key Takeaways
- Consistent bead patterns are essential for optimal bonding strength during SIPs installation
- Temperature and humidity significantly impact adhesive performance and curing time
- Proper surface preparation ensures maximum adhesion between panels
- Different SIP connections require specific adhesive applications and techniques
- Following manufacturer application guidelines prevents common installation errors
Understanding SIPs and Their Connection Requirements
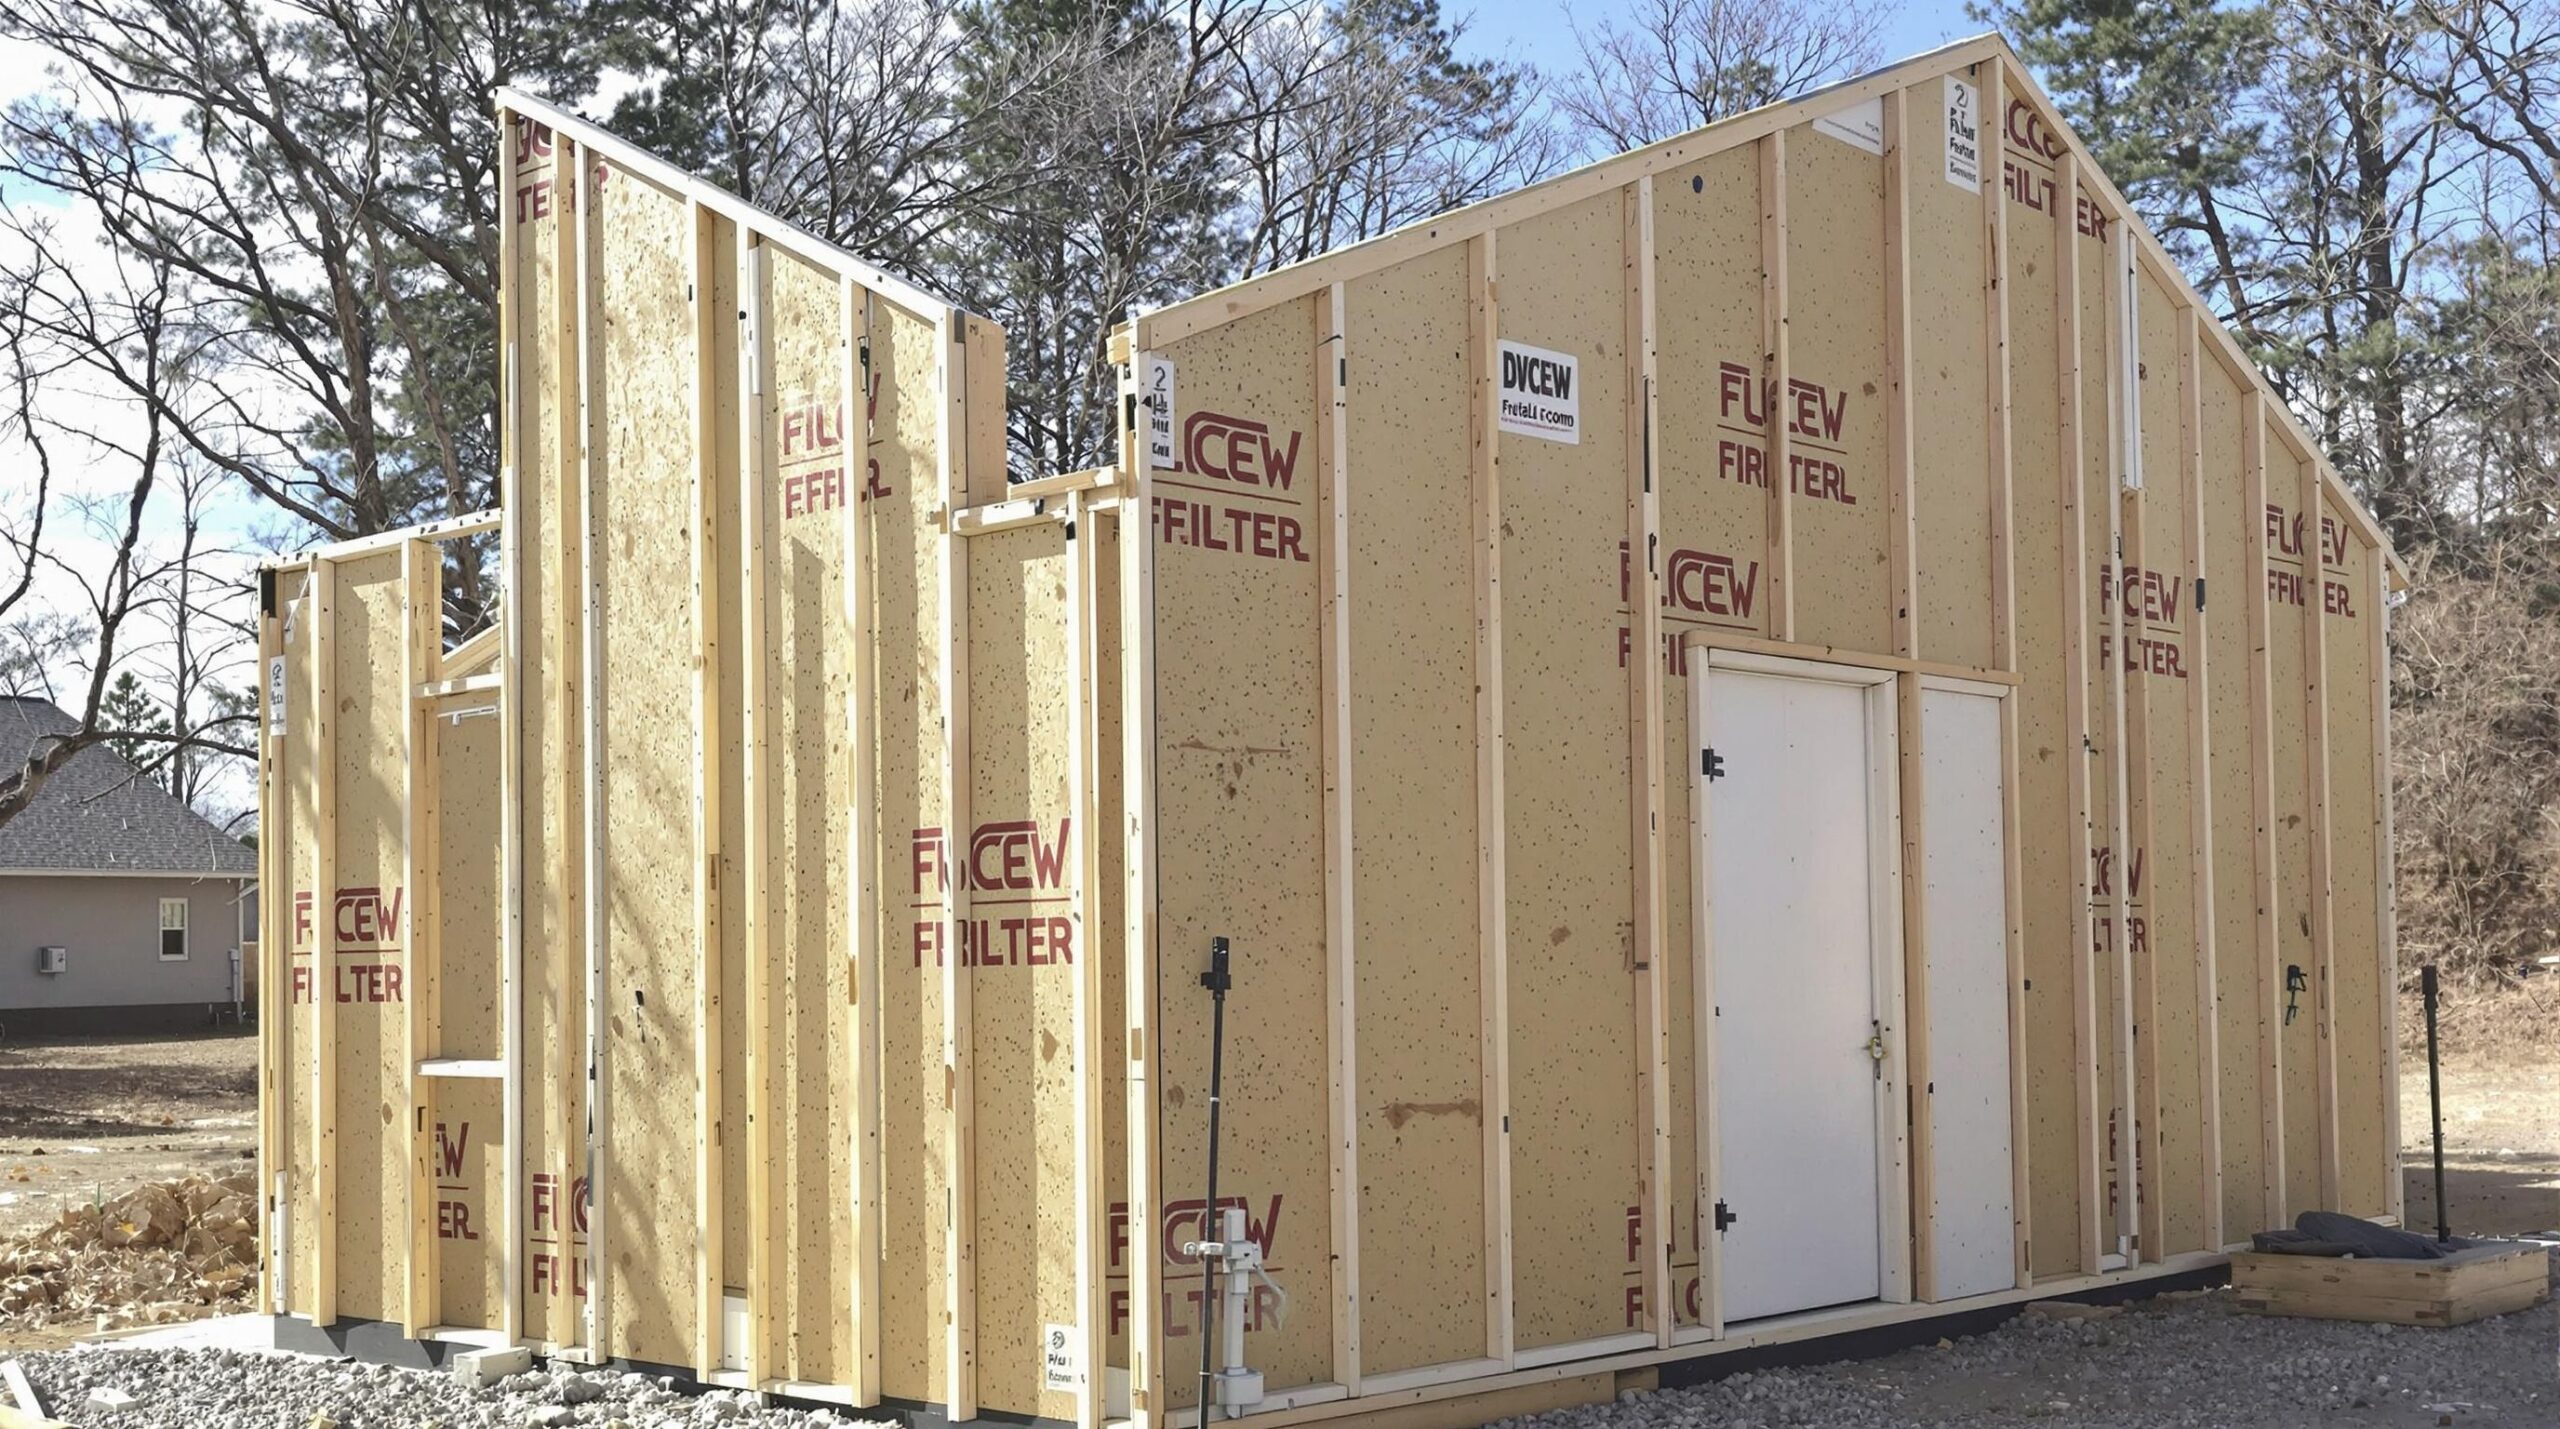
Structural Insulated Panels (SIPs) consist of an insulating foam core sandwiched between two structural facings, typically oriented strand board (OSB). These prefabricated building panels create energy-efficient, strong, and airtight building envelopes. The connections between panels are crucial for maintaining these performance characteristics throughout the building.
For SIP panels to function as a unified structural system, proper connection methods are essential. Adhesives play a key role in these connections, complementing mechanical fasteners like screws and nails. While mechanical fasteners provide immediate holding power, the adhesive creates long-term bonding that resists separation, prevents air leakage, and distributes loads more evenly.
Different panel orientations and connection types require specific adhesive applications:
- Panel-to-panel connections
- Corner joints
- Roof-to-wall connections
- Floor-to-wall connections
- Spline connections
Types of Adhesives Used in SIP Installation
Not all glues are suitable for SIP installation. The industry relies on specialized construction adhesives designed for structural applications. These adhesives must provide strong bonds, flexibility to accommodate minimal movement, and long-term durability.
The most common types of adhesives for SIP installation include:
- Polyurethane construction adhesives – Offer excellent bonding strength, moisture resistance, and gap-filling capabilities
- Construction mastic – Provides good adhesion to various surfaces and remains somewhat flexible after curing
- Specialized SIP adhesives – Formulated specifically for SIP applications with optimal properties for panel connections
Each adhesive type has specific application requirements regarding temperature range, working time, curing conditions, and compatibility with panel materials. Always check the manufacturer’s recommendations for the specific SIP system you’re installing.
Surface Preparation Before Adhesive Application
Proper surface preparation is essential for optimal adhesion. Before applying any adhesive, ensure the panel connection surfaces are:
- Clean and free of dust, dirt, and debris
- Dry with no condensation or excessive moisture
- Free from oils, grease, or release agents
- Within the temperature range specified by the adhesive manufacturer
- Properly fitted with minimal gaps
For OSB-faced SIPs, lightly sanding connection edges can improve adhesive bonding by creating a slightly roughened surface. Take care not to damage the panel facing during this process. Any damaged areas should be repaired according to manufacturer guidelines before adhesive application.
If panels have been exposed to moisture or have surface contamination, allow them to thoroughly dry and clean them with appropriate solvents recommended by the adhesive manufacturer. Rushing this step can compromise the entire installation.
Adhesive Application Tools and Equipment
Using the right tools for adhesive application ensures consistent coverage and proper bonding. Common tools include:
- Caulking guns – For applying adhesive from tubes or cartridges
- Electric or battery-powered dispensers – For high-volume applications
- Notched trowels – For spreading adhesive evenly on larger surfaces
- Foam applicators – For specific adhesive types
- Spray equipment – For specialized spray-applied adhesives
Choose the appropriate applicator size and type based on the adhesive viscosity and manufacturer recommendations. Many SIP installers find that standard caulking guns work well for most applications, but professional-grade models offer better control and reduced hand fatigue during large installations.
Keep multiple tips and nozzle configurations available for different connection types. Some connections might require a wider bead, while others need a more precise application.
Step-by-Step Adhesive Application Process
The adhesive application process follows a specific sequence to ensure proper panel connections:
1. Prepare the panels: Ensure they’re clean, dry, and properly positioned for connection.
2. Check environment conditions: Verify temperature and humidity are within the adhesive manufacturer’s recommended range.
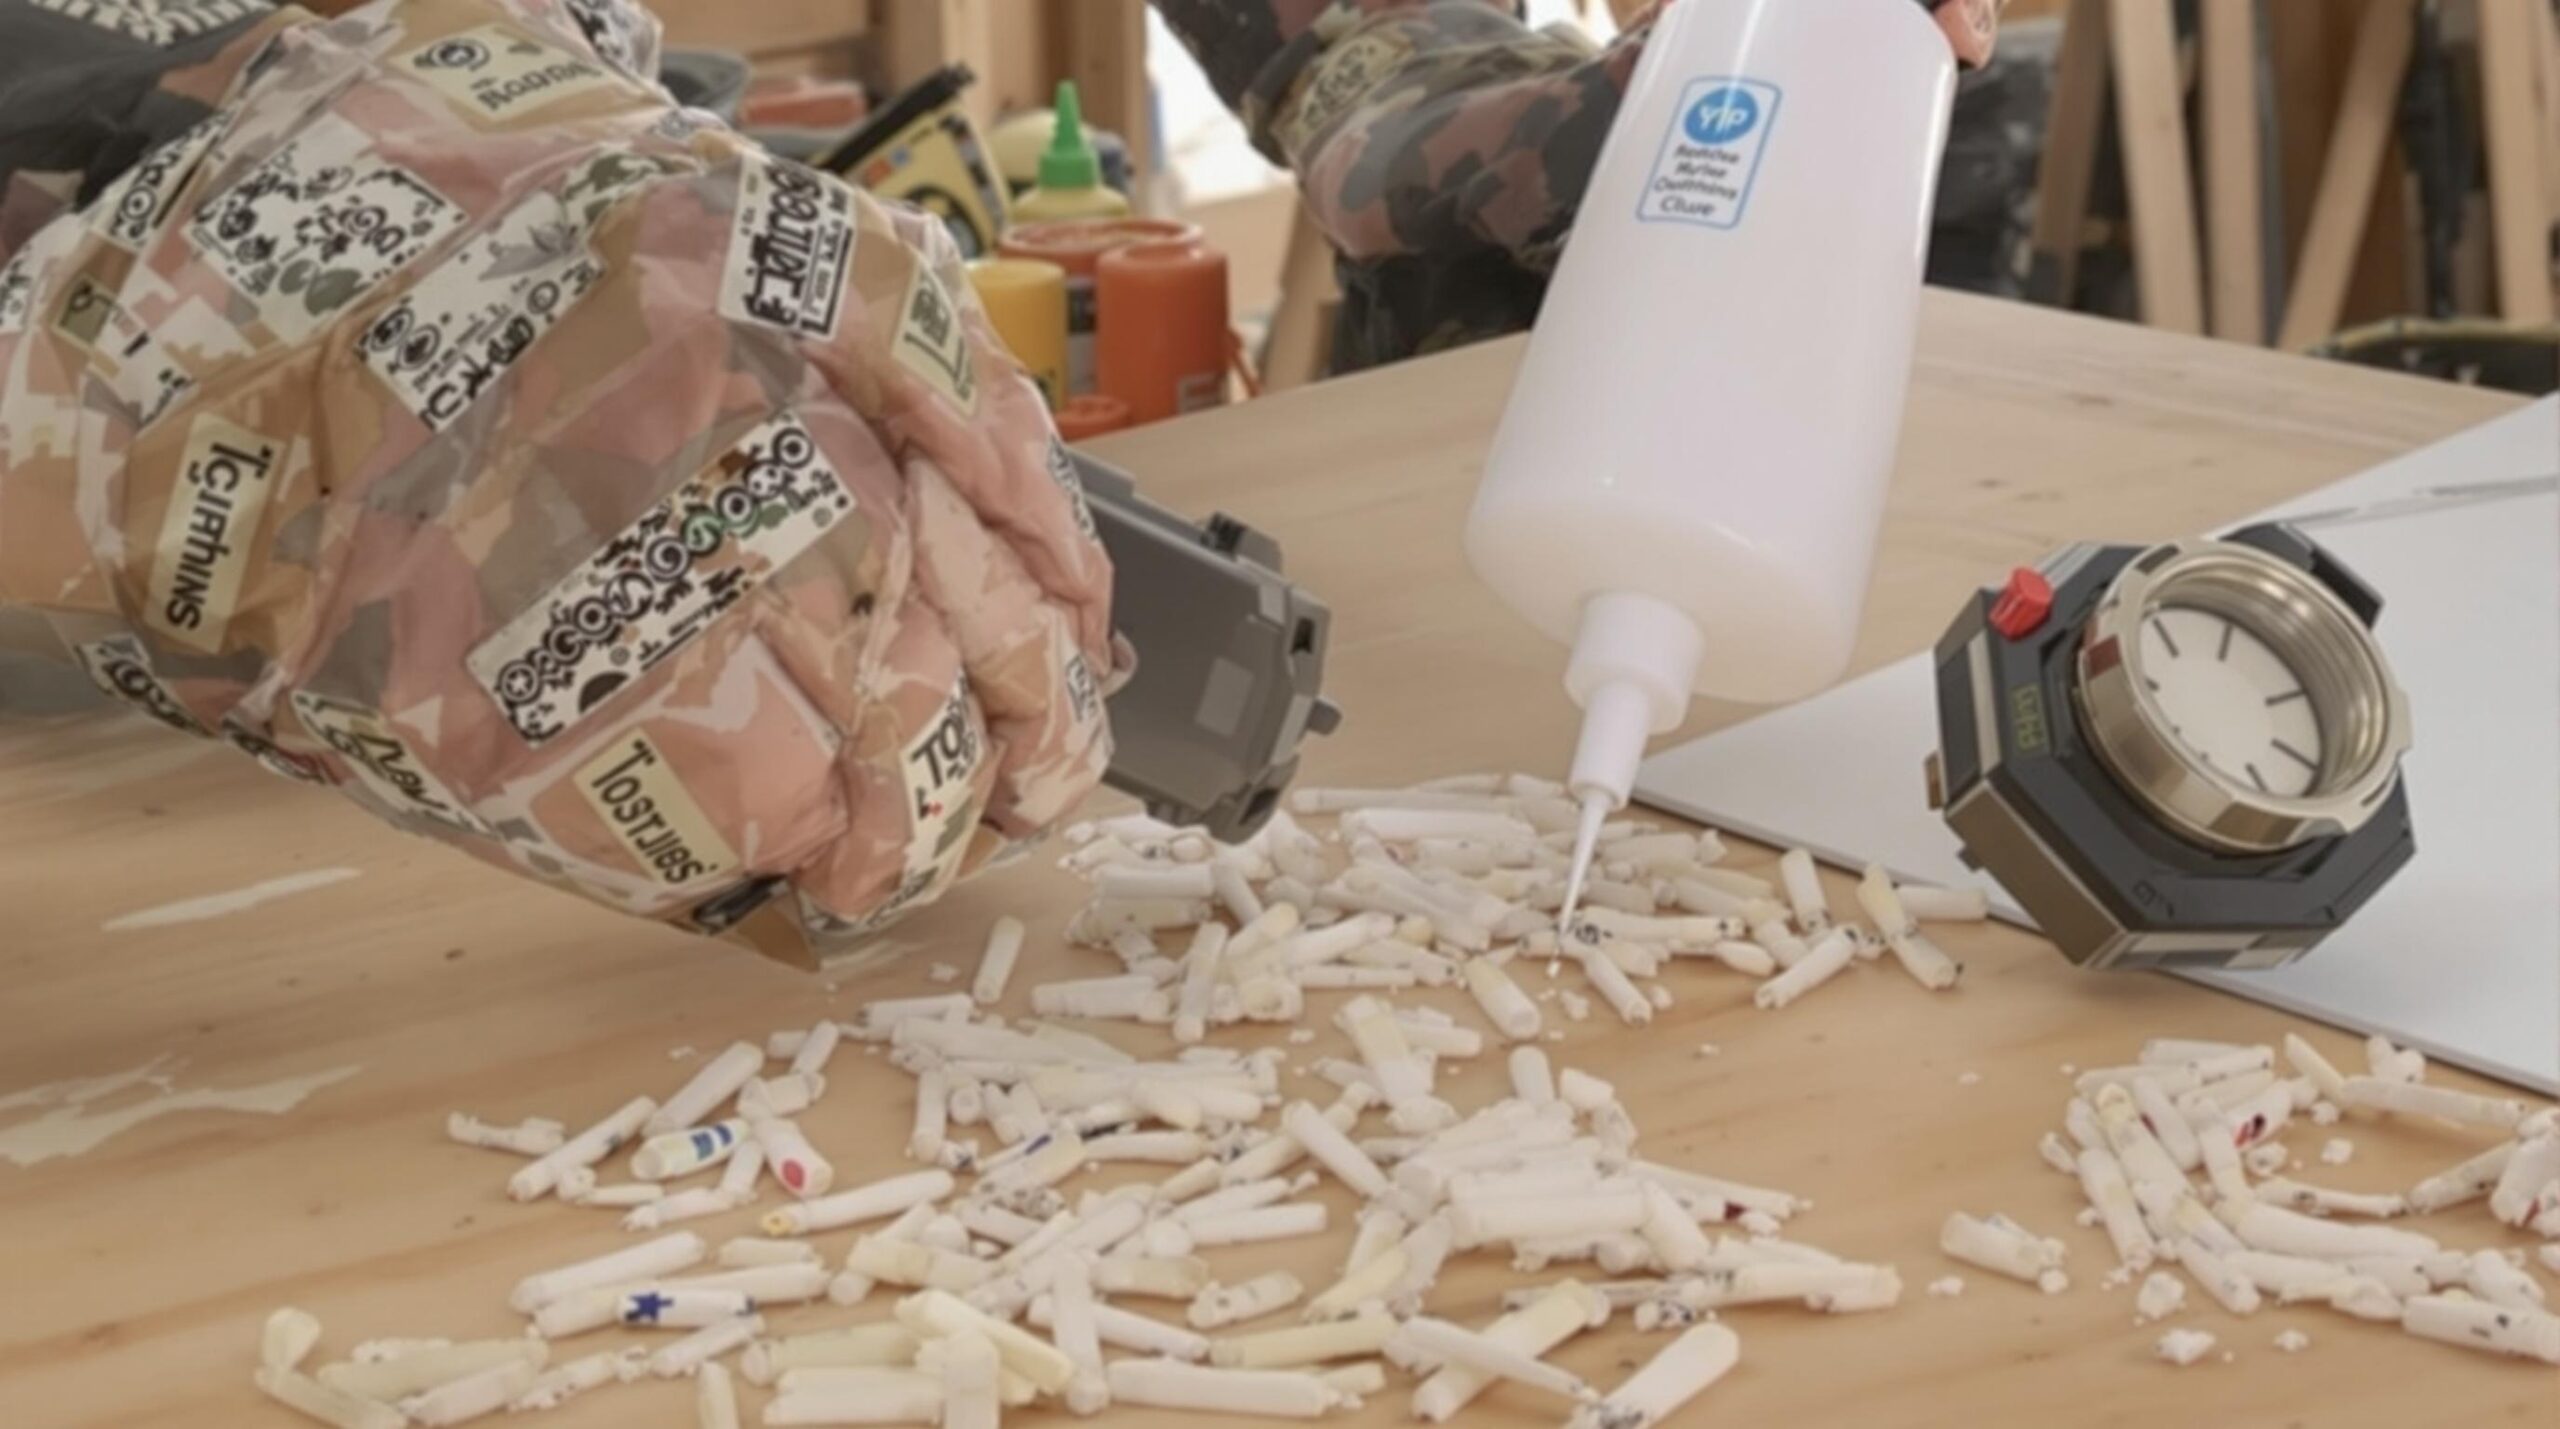
3. Cut the adhesive tube tip: Cut at an angle that provides the desired bead size, typically 1/4″ to 3/8″ in diameter.
4. Apply adhesive in consistent beads: For standard panel-to-panel connections, apply two parallel beads along the recessed edges or spline channels.
5. Maintain proper coverage: Ensure continuous beads without gaps or excessive buildup.
6. Join panels promptly: Connect panels within the adhesive’s open time (typically 10-30 minutes, depending on conditions).
7. Apply pressure: Use temporary bracing, clamps, or screws to hold panels together while the adhesive sets.
8. Clean excess adhesive: Wipe away any squeeze-out before it cures completely.
The specific pattern of adhesive application varies by connection type. For panel-to-panel connections with splines, apply adhesive to both sides of the spline and into the panel channels. For top plates or bottom plates, apply continuous beads along the full length of the connecting surfaces.
Bead Patterns and Coverage Requirements
The pattern and amount of adhesive applied directly affects joint integrity. While specific requirements vary by manufacturer, there are general guidelines for adhesive application patterns:
- Panel edge connections: Apply parallel beads approximately 1/2″ from each edge of the connection surface
- Spline connections: Apply a zigzag pattern or parallel beads on both sides of the spline
- Top and bottom plates: Apply 2-3 continuous beads along the full length
- Corner connections: Apply beads along all mating surfaces, including both faces and the core area
The proper bead size is typically 1/4″ to 3/8″ in diameter. Too thin a bead may not provide sufficient bonding, while too large a bead wastes material and can cause excessive squeeze-out that must be cleaned up.
Coverage requirements depend on the adhesive type and connection area. As a general rule, one 28-ounce tube of construction adhesive covers approximately 30-40 linear feet of standard panel connection when applied as recommended.
Temperature and Environmental Considerations
Environmental conditions dramatically impact adhesive performance. Most construction adhesives work best in temperature ranges of 40°F to 100°F (4°C to 38°C), with ideal conditions around 70°F (21°C).
In cold weather applications:
- Store adhesives in a warm location prior to use
- Expect longer curing times
- Consider using cold-weather formulations specifically designed for low-temperature applications
- Provide temporary heat to connection areas when possible
In hot weather applications:
- Be aware of shortened working times
- Store adhesives in cooler areas before use
- Apply adhesive and connect panels quickly
- Work in shaded areas when possible
Humidity also affects adhesive performance. High humidity may extend curing times for some adhesives, while very low humidity can cause premature skinning and reduce open time. Follow manufacturer guidelines for specific recommendations based on environmental conditions.
Working Time and Curing Considerations
Every adhesive has specific working and curing times that must be carefully managed during installation. Working time (also called “open time”) is the period during which panels can be positioned after adhesive application. This typically ranges from 10 to 30 minutes depending on the adhesive type and conditions.
To effectively manage working time:
- Apply adhesive only to the number of connections that can be completed within the working time
- Have all panels prepared and ready before starting adhesive application
- Work in smaller sections during extreme temperature conditions
- Use a systematic approach to maintain efficiency
Full curing time varies significantly between adhesive types, ranging from 24 hours to several days. During this period, temporary fasteners or bracing may be necessary to maintain connection integrity. The connection will gain strength progressively as the adhesive cures.
Most construction adhesives reach sufficient handling strength within 4-6 hours, allowing for continued construction activities. However, avoid placing heavy loads or stresses on fresh connections until the adhesive has fully cured according to manufacturer specifications.
Special Applications and Connection Types
Different SIP connection types require specialized application techniques:
Roof-to-wall connections often involve angled joints that require careful adhesive placement to prevent runoff while ensuring complete coverage. Apply adhesive to the lower surface first, then immediately position and secure the connecting panel.
Floor-to-wall connections must accommodate higher shear forces. Use a more generous adhesive application with additional mechanical fasteners as specified by the structural engineer or panel manufacturer.
Window and door openings require adhesive application around the entire perimeter of the rough opening. This creates a continuous air seal in addition to structural bonding.
Electrical chases and utility penetrations need special attention to maintain the building envelope’s integrity. Apply a continuous bead of adhesive around all penetrations to ensure airtightness.
For connections to different materials (like concrete foundations or steel beams), use adhesives specifically rated for those material combinations. Some connections may require specialty adhesives or sealants to ensure proper bonding and air sealing.
Handling Excess Adhesive and Cleanup
Proper cleanup of excess adhesive is an important finishing step in SIP installation. Most construction adhesives will squeeze out from panel joints when pressure is applied. This excess should be managed properly:
- Remove excess adhesive while still wet using a plastic putty knife or scraper
- For polyurethane adhesives, have mineral spirits or the manufacturer-recommended solvent ready for cleanup
- Keep clean rags and appropriate solvents accessible throughout the installation process
- For visible areas, carefully tool any exposed adhesive for a neat appearance
- Follow manufacturer recommendations for adhesive removal from skin and tools
If adhesive has already cured, mechanical removal is typically required. This is more difficult and time-consuming, which is why prompt cleanup of excess adhesive is recommended.
When working with adhesives, protect adjacent surfaces with masking tape or plastic sheeting to prevent accidental contact. This is especially important around finished surfaces, windows, doors, and areas that will remain exposed in the completed building.
Common Installation Errors and How to Avoid Them
Even experienced installers can make mistakes during SIP adhesive application. Being aware of these common errors helps prevent them:
- Insufficient adhesive: Apply consistent, properly sized beads without gaps or thin spots
- Expired or frozen adhesive: Check date codes and storage conditions before use
- Exceeding open time: Apply adhesive only to connections that can be completed within the working time
- Improper surface preparation: Ensure surfaces are clean, dry, and within temperature guidelines
- Incompatible adhesives: Use only adhesives approved for SIP installation
Another common mistake is inadequate pressure during curing. Use temporary screws, braces, or clamps as needed to maintain tight connections until the adhesive develops handling strength.
If errors occur, consult with the panel manufacturer before attempting corrections. Some situations may require removing and replacing affected panels, while others might be remedied with additional mechanical fasteners or supplemental adhesive applications.
Safety Precautions When Working with SIP Adhesives
Construction adhesives contain chemicals that require proper safety precautions:
- Always read and follow the adhesive’s Safety Data Sheet (SDS)
- Work in well-ventilated areas or use appropriate respiratory protection
- Wear chemical-resistant gloves to protect skin from irritation
- Use eye protection to prevent splashes or accidental contact
- Keep adhesives away from open flames or heat sources
Some polyurethane adhesives release small amounts of carbon dioxide during curing, so adequate ventilation is essential, especially in enclosed spaces. In poorly ventilated areas, consider using mechanical ventilation or taking regular breaks to get fresh air.
Have appropriate cleaning solvents readily available for skin and tool cleanup. Some adhesives can be difficult to remove from skin once cured, so clean any contact areas promptly following manufacturer recommendations.
Professional Tips for Efficient Adhesive Application
Experienced SIP installers have developed several time-saving techniques for efficient adhesive application:
- Cut multiple adhesive tube tips at the beginning of the workday to save time
- Use electric or battery-powered caulking guns for large installations to reduce hand fatigue
- Stage adhesive tubes in a warm location during cold weather to improve flow
- In hot weather, keep unused tubes in a cooler to prevent premature curing
- Apply parallel beads rather than a single thick bead for better coverage and bonding
For large projects, calculate adhesive requirements in advance and order slightly more than the estimated quantity. Running out of adhesive mid-installation can cause delays and potential bond failures if connections aren’t completed within working time.
Consider using different colored adhesives for different connection types to help ensure the correct product is used in each application. Some installers mark tubes with colored tape for easy identification.
Manufacturer-Specific Guidelines and Variations
While this article provides general guidance, each SIP manufacturer has specific requirements for adhesive selection and application. Always refer to the manufacturer’s installation manual for the exact:
- Adhesive type and brand recommendations
- Application patterns for different connection types
- Quantity requirements per linear foot of connection
- Temporary fastening requirements during curing
- Environmental limitations and adaptations
Some manufacturers provide pre-cut splines or connection materials that require specific adhesive patterns. Others may supply proprietary adhesives designed specifically for their panel systems.
Deviating from manufacturer guidelines may void warranties and compromise structural performance. If unclear about any aspect of the adhesive application process, contact the panel manufacturer’s technical support team for clarification before proceeding.
Frequently Asked Questions
How long does adhesive take to cure during SIP installation?
Most SIP adhesives develop handling strength in 4-6 hours but require 24-72 hours for full cure depending on temperature, humidity, and specific adhesive type. Always check manufacturer specifications for exact timing.
Can I install SIPs without adhesive?
While mechanical fasteners provide structural connection, adhesive is crucial for airtightness, thermal performance, and long-term structural integrity. Skipping adhesive significantly compromises the building envelope’s performance.
What should I do if the adhesive freezes before application?
Most adhesives are damaged by freezing and should be discarded if frozen. Some formulations can withstand a single freeze-thaw cycle, but performance may be compromised. Check with the manufacturer before using previously frozen adhesive.
How much adhesive should I budget for my SIP project?
A typical rule of thumb is one 28-ounce tube per 30-40 linear feet of panel connection. However, complex projects with many corners and intersections may require more. Add 10-15% to your estimate as a buffer.
Can I use regular construction adhesive for SIP installation?
Only use adhesives specifically approved for structural applications in SIPs. General-purpose construction adhesives may lack the necessary strength, flexibility, or durability for this critical application.