Polyurethane (PU) glue adhesion problems often stem from improper surface preparation or environmental conditions that impact its curing process. Understanding the specific factors affecting PU adhesion can help troubleshoot issues and ensure strong, durable bonds across various materials.
Key Takeaways
- Inadequate surface preparation and moisture content are primary causes of PU glue failure
- Temperature extremes and expired products significantly reduce bonding effectiveness
- Using the wrong glue type for specific materials can result in poor adhesion
- Proper clamping pressure and sufficient curing time are essential for strong bonds
- Humidity levels below 30% or above 80% can compromise adhesion quality
Common Reasons Why Polyurethane Glue Fails to Stick
When your PU glue isn't sticking properly, several factors might be at play. Identifying the root cause of adhesion failure is crucial for finding an effective solution. Let's explore the most common reasons behind poor polyurethane glue performance.
Polyurethane adhesives work through a chemical reaction that requires specific conditions to create strong bonds. When these conditions aren't met, even the highest quality PU glues can fail. Understanding these requirements helps prevent frustrating adhesion problems.
Inadequate Surface Preparation
One of the most frequent causes of PU glue failure is insufficient surface preparation. Contaminants create barriers between the glue and the material, preventing proper chemical bonding. Surfaces must be thoroughly cleaned before application.
Dust, oil, grease, and even fingerprints can compromise adhesion quality. These seemingly minor contaminants can make a major difference in how well your polyurethane glue performs. For optimal results, clean surfaces with appropriate solvents before application.
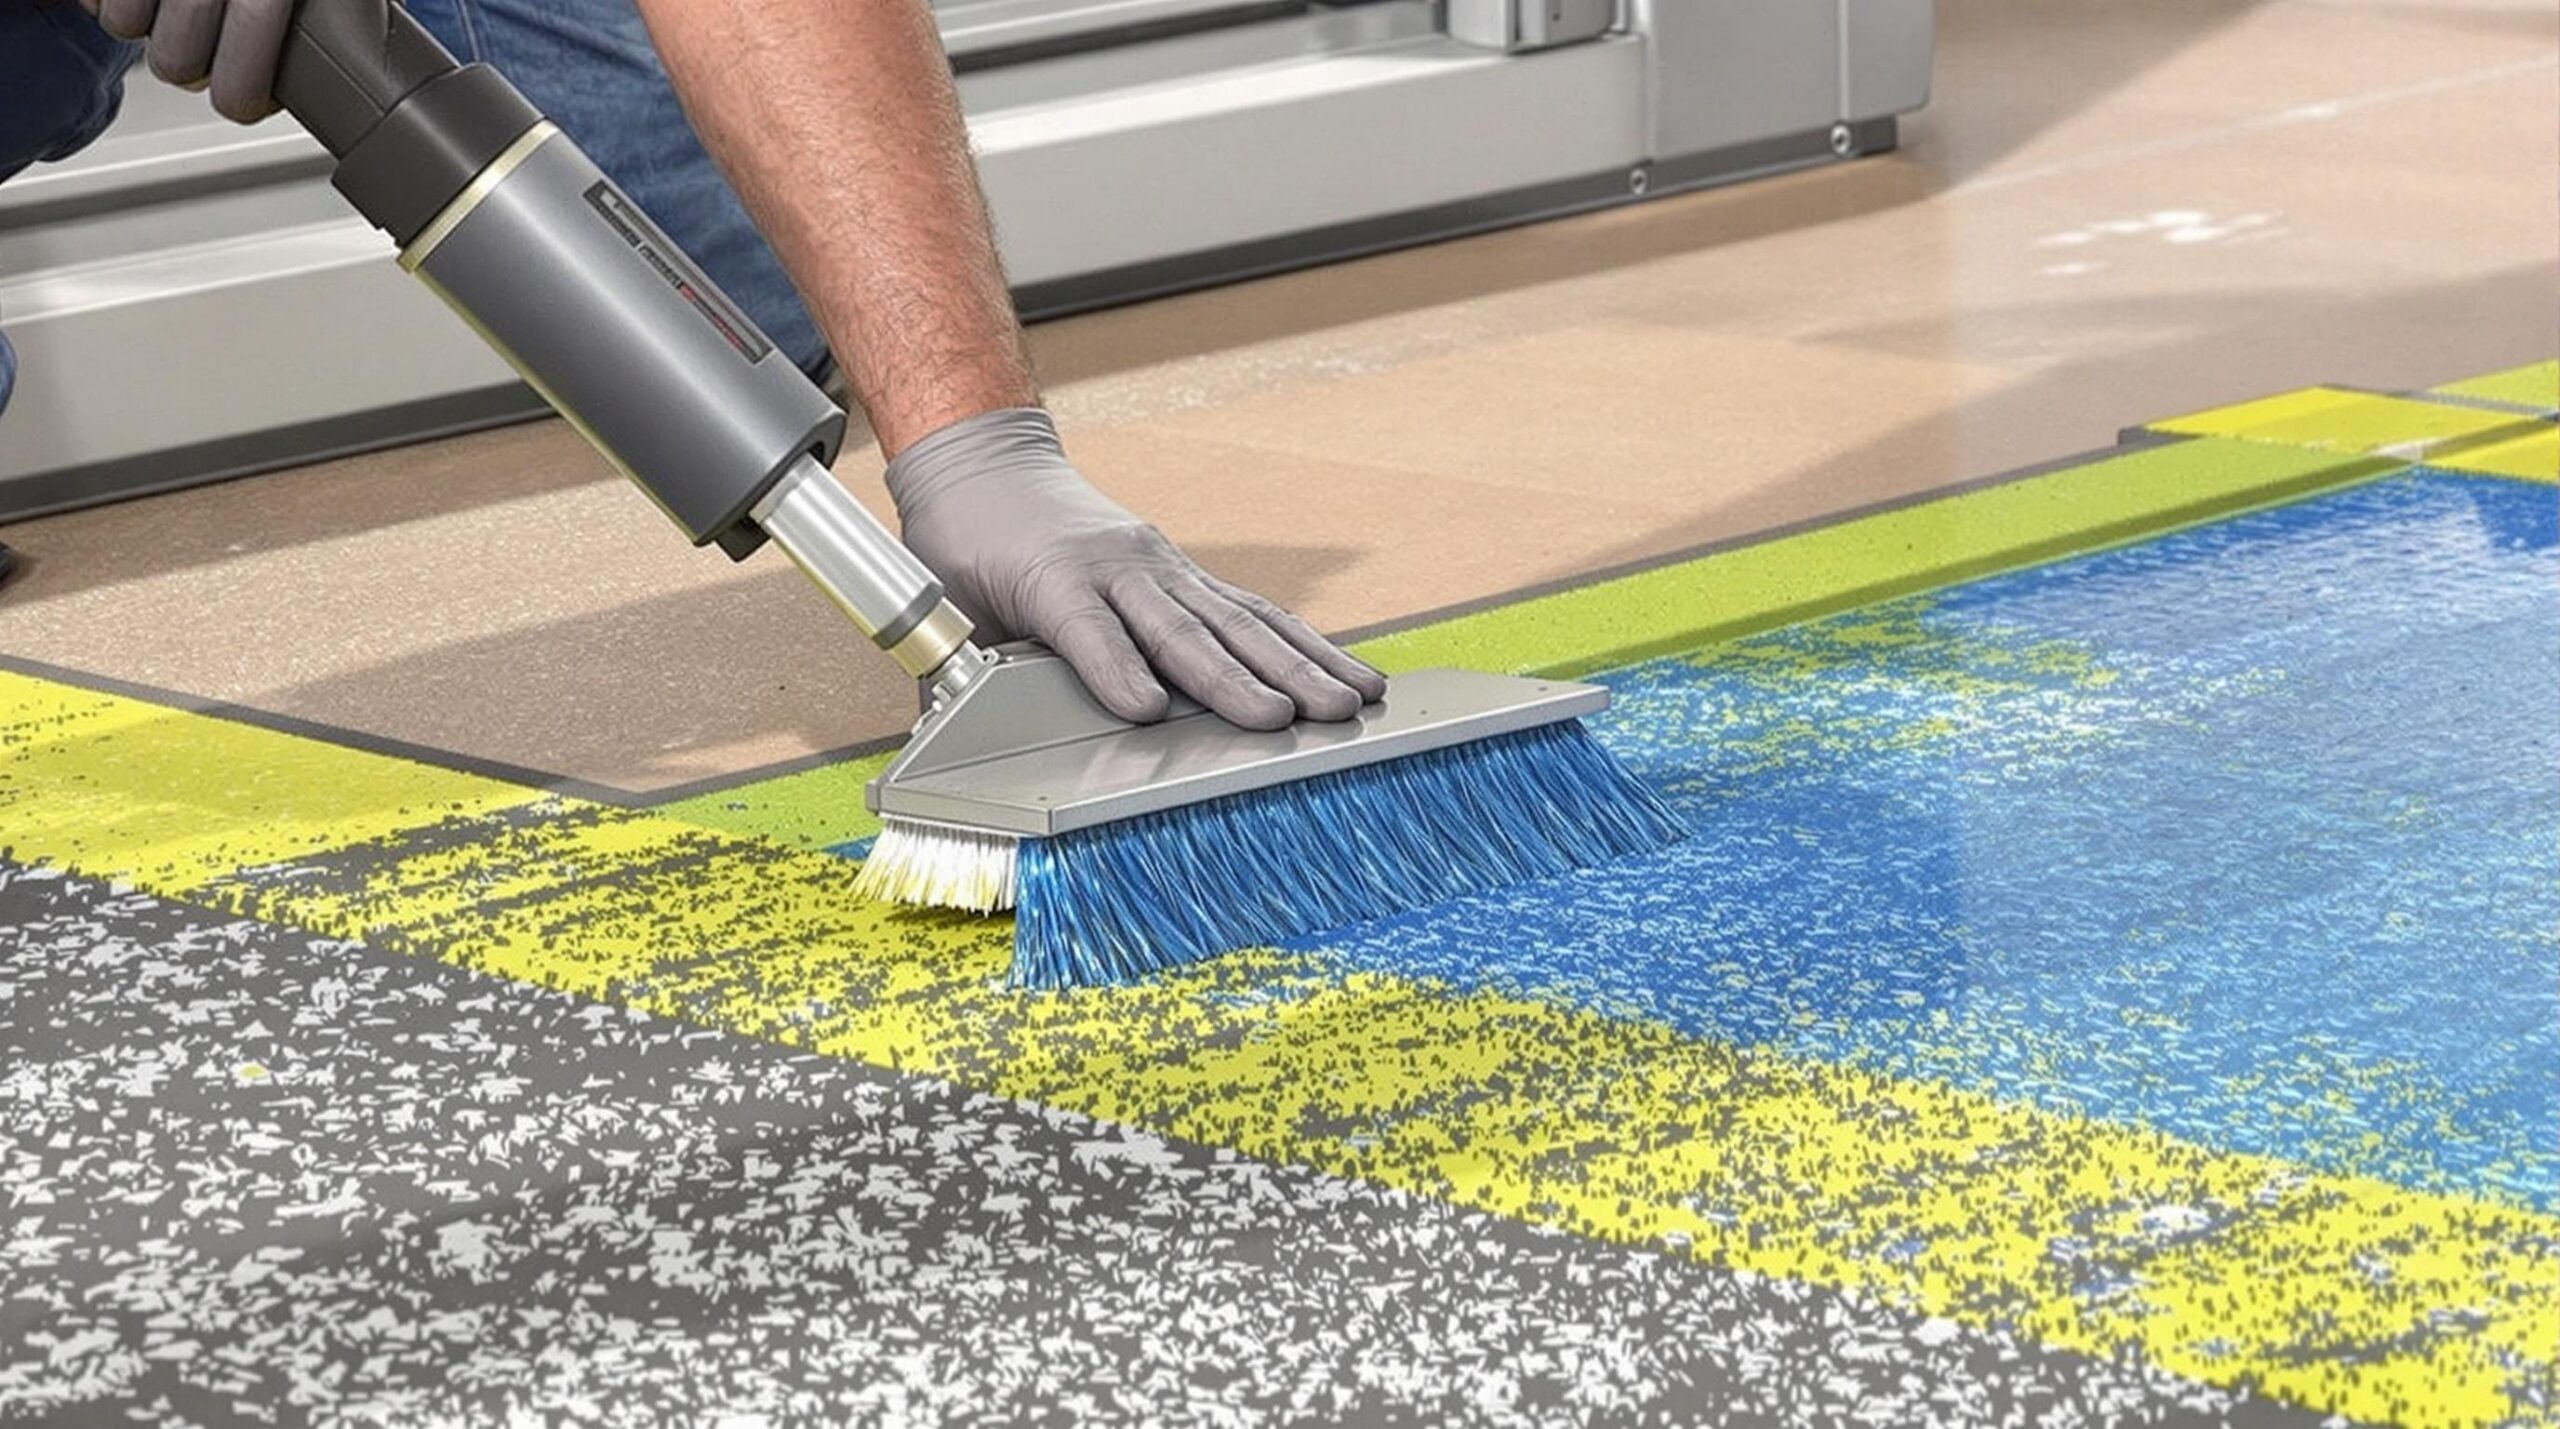
Sanding or roughening smooth surfaces can also improve bonding strength. This mechanical preparation creates more surface area and tiny crevices for the glue to grip. For materials like metals, plastics, or sealed woods, light abrasion can significantly enhance adhesion.
Incorrect Moisture Levels
Unlike many adhesives, polyurethane glue requires moisture to activate its curing process. Insufficient moisture can prevent proper curing, while excessive moisture can create too much foam and weaken the bond. Finding the right balance is essential.
For very dry materials (like kiln-dried wood), slightly dampening one surface with a fine water mist can improve adhesion. The key is moderation – surfaces should appear slightly damp but never wet or saturated. Too much water dilutes the adhesive and creates excessive foaming.
In contrast, when working with naturally damp materials, additional moisture isn't needed and might be detrimental to bond strength. Always consider the material's natural moisture content before deciding whether to add water.
Temperature Issues Affecting Adhesion
Polyurethane glue performs best within a specific temperature range. Most PU adhesives work optimally between 65°F and 75°F (18°C-24°C). When temperatures fall outside this range, adhesion problems often occur.
Cold temperatures slow the chemical curing reaction, potentially leading to incomplete bonding. In cold workshops or outdoor conditions below 50°F (10°C), consider warming the materials and adhesive before application. A space heater can create a more suitable working environment.
High temperatures accelerate curing, sometimes causing the glue to set before proper positioning. This can result in weak bonds or misaligned joints. On hot days above 90°F (32°C), work quickly and keep glue bottles in a cooler location until needed.
Using Expired or Deteriorated Adhesive
Polyurethane glue has a limited shelf life, typically between 12-18 months after opening. Using expired product is a common but often overlooked cause of adhesion failure. Check manufacturing dates and storage conditions if experiencing unexpected bonding issues.
Signs of deteriorated PU glue include thickened consistency, partial hardening in the bottle, or unusual discoloration. Once these changes occur, the adhesive's chemical properties have been compromised and reliable bonding becomes unlikely.
Proper storage can extend shelf life. Keep containers tightly sealed to prevent moisture exposure and store in cool, dry locations away from direct sunlight. Some woodworkers squeeze out excess air before resealing to further protect unused adhesive.
Inappropriate Glue Type for Specific Materials
Not all polyurethane glues perform equally across different materials. Using a formulation unsuited for your specific application can result in adhesion failure, even with perfect preparation and technique.
For high-stress applications or outdoor projects, selecting a waterproof PU adhesive specifically rated for exterior use is crucial. Standard indoor formulations may fail prematurely when exposed to weather elements or constant moisture.
When bonding non-porous materials like metals, glass, or certain plastics, specialized polyurethane formulations often deliver superior results. These products contain additives designed to overcome the challenges of bonding surfaces that lack natural porosity.
Insufficient Clamping Pressure and Time
Polyurethane glue requires adequate pressure during curing to create strong bonds. Without sufficient clamping, the adhesive's foaming action can actually push surfaces apart rather than drawing them together, resulting in a weak connection.
The foaming characteristic of PU glue means it needs firmer clamping than many other adhesives. When bonding larger surfaces, use multiple clamps distributed evenly to ensure uniform pressure across the entire joint.
Removing clamps too soon is another common mistake. Most polyurethane adhesives require at least 2-4 hours of continuous clamping, with full cure strength developing over 24 hours. Rushing this process almost always results in compromised bond strength.
Environmental Humidity Issues
Ambient humidity plays a significant role in polyurethane glue performance. Extreme humidity levels, either too high or too low, can interfere with proper curing and result in adhesion problems that might not be immediately apparent.
In very dry environments (below 30% relative humidity), the moisture necessary for curing may be insufficient. This often occurs in winter months with indoor heating or in naturally arid climates. Adding slight moisture to one bonding surface can compensate for low humidity.
Conversely, excessive humidity (above 80%) can cause premature surface skinning or accelerated curing that prevents proper penetration into the materials. In high-humidity conditions, work quickly and be prepared to clamp immediately after application.
Surface Incompatibility Problems
Some surfaces naturally resist adhesion with polyurethane glues. Materials with high oil content, such as teak or other exotic hardwoods, can prevent proper bonding unless specially prepared. Similarly, surfaces with silicone residue represent a particular challenge.
Chemical treatments on materials can also interfere with adhesion. Pressure-treated lumber, fire-retardant coatings, and certain stains or sealers create barriers that polyurethane struggles to penetrate. In these cases, sanding through the surface treatment may be necessary.
For problematic materials, using a compatible primer before applying polyurethane glue can significantly improve adhesion. These specialized primers create an intermediate layer that bonds well to both the challenging surface and the PU adhesive.
Improper Application Techniques
Even with the right product and perfect conditions, incorrect application methods can lead to adhesion failure. Applying too much or too little adhesive represents a common technical mistake that compromises bond strength.
Too thin an application fails to provide sufficient adhesive material for a strong bond. Conversely, excessive application creates unnecessarily thick glue lines that may be weaker than properly sized ones. Aim for complete coverage with a thin, even layer.
Waiting too long after application before joining surfaces is another technical error. Polyurethane begins reacting with moisture immediately, and delays in assembly can result in partially cured adhesive that doesn't bond properly. Have all pieces ready before opening the glue bottle.
How to Solve PU Glue Adhesion Problems
When facing polyurethane adhesion issues, a systematic troubleshooting approach helps identify and resolve the specific causes. Start with the simplest potential solutions before moving to more complex remedies.
First, ensure basic requirements are met: clean, properly prepared surfaces; appropriate moisture levels; and fresh, quality adhesive. These fundamental factors solve the majority of common adhesion problems with minimal effort.
For persistent issues, consider environmental factors like temperature and humidity. Creating controlled conditions for gluing operations can dramatically improve results, especially for critical joints or challenging materials.
Proper Surface Preparation Steps
Effective surface preparation begins with thorough cleaning. Remove all dust and contaminants using appropriate solvents – denatured alcohol works well for many materials without leaving residue. Allow surfaces to dry completely before proceeding.
For smooth or non-porous materials, create mechanical texture through light abrasion. Sandpaper between 120-220 grit typically provides sufficient roughening without excessive damage. Clean again after sanding to remove any grit or dust.
Test surface readiness with the water drop test. Apply a small droplet to the prepared surface – it should spread slightly rather than beading up completely. If water beads tightly, additional cleaning or sanding may be necessary to improve adhesion potential.
Optimizing Moisture Content for Better Adhesion
For very dry materials, lightly dampen one surface with a spray bottle set to a fine mist. The goal is barely perceptible moisture – surfaces should not look wet or show water droplets. This minimal moisture activates the polyurethane without causing excessive foaming.
When working with naturally moist materials like green wood, reduce application thickness slightly to accommodate the additional moisture content. This prevents excessive foaming that could weaken the bond.
In controlled environments, maintaining ambient humidity between 40-60% creates ideal curing conditions for most polyurethane adhesives. Portable humidifiers or dehumidifiers can help achieve this optimal range in workshops with extreme humidity issues.
Temperature Management for Successful Bonding
Plan gluing operations around appropriate temperature conditions. Between 65°F and 75°F (18°C-24°C) represents the ideal range for most polyurethane adhesives. When possible, schedule work during times when these conditions occur naturally.
For cold environments, pre-warm both the materials and adhesive to room temperature before application. Materials can be brought indoors overnight, while adhesive bottles can be placed in warm (not hot) water for 10-15 minutes to reach optimal working temperature.
In high-temperature conditions, cool materials when possible and work in morning hours when temperatures are lower. Keep glue bottles refrigerated until shortly before use, but allow them to warm slightly before application to maintain proper viscosity.
Proper Storage and Handling of PU Adhesives
Store polyurethane glue in climate-controlled environments between 50°F and 75°F (10°C-24°C). Avoid freezing temperatures and excessive heat, both of which can permanently damage the adhesive's chemical properties.
After each use, wipe bottle threads clean and secure the cap tightly and promptly. Some woodworkers squeeze the bottle gently before capping to remove excess air, which contains moisture that could cause premature curing inside the container.
For partially used bottles with an expected long storage period, consider transferring remaining adhesive to a smaller container that minimizes air space. This reduces exposure to atmospheric moisture that degrades the product over time.
Selecting the Right PU Glue Formulation
Match the polyurethane formulation to your specific project requirements. For structural applications, choose products with high shear strength ratings. For flexible materials, select formulations specifically designed to maintain elasticity after curing.
When working with difficult-to-bond materials like HDPE plastic or certain composites, look for specialized formulations developed specifically for these challenging substrates. These products contain additives that enhance adhesion to normally resistant surfaces.
Consider cure time requirements when selecting products. Some projects benefit from rapid-set formulations, while others require longer working times to allow for complex assembly. Most manufacturers offer multiple options to accommodate different working preferences.
Perfecting Clamping Techniques
Apply clamps starting from the center of the joint and work outward to prevent air entrapment. This technique pushes air bubbles out rather than trapping them within the bond line, resulting in stronger connections.
Use clamping aids like cauls or battens to distribute pressure evenly across wide surfaces. These auxiliary pieces prevent localized high pressure directly under clamps while ensuring adequate compression across the entire bonding area.
For curved or irregular surfaces, consider using specialized clamping methods like vacuum clamping or strategic tensioning straps. These approaches can provide uniform pressure across complex geometries where traditional clamps might be ineffective.
FAQs About PU Glue Adhesion Issues
Why does my polyurethane glue foam up but still not stick?
Excessive foaming with poor adhesion typically indicates that the glue is reacting with moisture but failing to create proper chemical bonds with the materials. This usually results from contaminated surfaces, insufficient clamping pressure, or using expired adhesive. Clean surfaces thoroughly, increase clamping pressure, and verify your glue hasn't exceeded its shelf life.
Can I use polyurethane glue in freezing temperatures?
While application is possible, cold temperatures significantly slow curing and compromise bond strength. For temperatures below 50°F (10°C), warm both the materials and adhesive to room temperature before application, and if possible, maintain warmer temperatures during the initial curing period. Extended clamping time may be necessary in cold conditions.
Why is my PU glue not hardening completely?
Incomplete curing typically stems from insufficient moisture, expired adhesive, or extremely low humidity conditions. Try adding a light mist of water to one surface before application, verify your glue is within its shelf life, and consider using a humidifier in extremely dry environments to facilitate proper curing.
How can I tell if my polyurethane glue is still good?
Fresh PU adhesive has a consistent color, smooth flow, and uniform consistency. Signs of deterioration include thickening, partial hardening in the bottle, color changes, or chunks of cured material. If your adhesive shows these signs or is more than 12-18 months old after opening, it's likely compromised and should be replaced.
Can I bond plastic with polyurethane glue?
Yes, but success varies by plastic type. Polyurethane works well with ABS, polycarbonate, and hard PVC after proper surface preparation (light sanding and solvent cleaning). However, it struggles with polyethylene, polypropylene, and Teflon without specialized surface treatments. For challenging plastics, look for PU formulations specifically designed for plastic bonding or consider alternative adhesive types.